
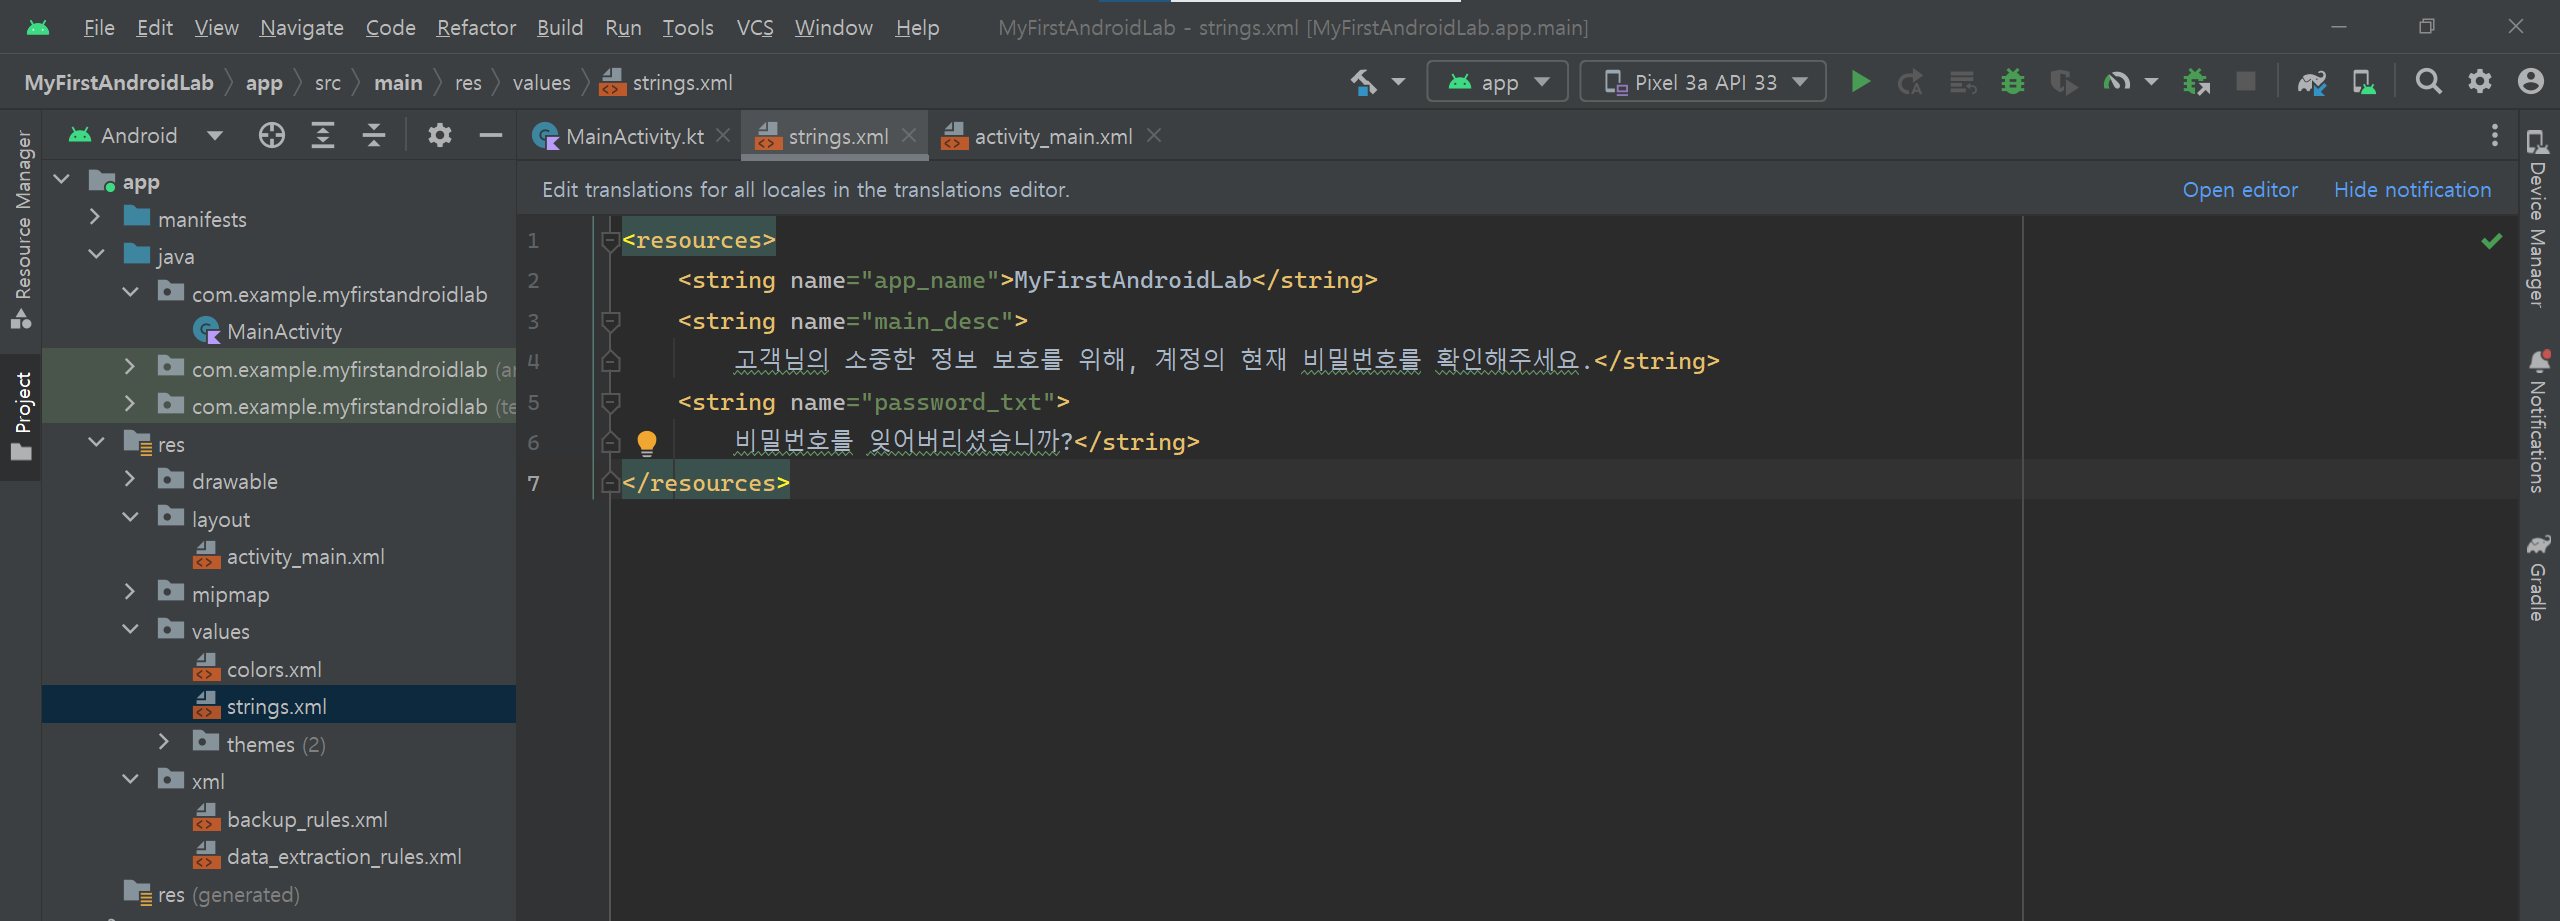
1. res/values/strings.xml 파일을 열어 아래와 같이 문자열을 추가합니다.
2. activity_main.xml 파일을 열어 아래와 같이 작성합니다.
<?xml version="1.0" encoding="utf-8"?>

<LinearLayout xmlns:android="http://schemas.android.com/apk/res/android"
    android:layout_width="match_parent"
    android:layout_height="match_parent"
    android:orientation="vertical"
    android:padding="16dp">
    <TextView
        android:layout_width="match_parent"
        android:layout_height="wrap_content"
        android:text="@string/main_desc"
        android:textSize="17dp" />
    <TextView
        android:layout_width="match_parent"
        android:layout_height="wrap_content"
        android:text="example@gmail.com"
        android:textColor="#CFCFCE"
        android:layout_marginTop="10dp" />
    <View
        android:layout_width="match_parent"
        android:layout_height="1dp"
        android:background="#D4D4D3"
        android:layout_marginTop="10dp" />
    <EditText
        android:layout_width="match_parent"
        android:layout_height="wrap_content"
        android:hint="비밀번호"
        android:inputType="textPassword" />
    <TextView
        android:layout_width="match_parent"
        android:layout_height="wrap_content"
        android:text="@string/password_txt"
        android:layout_marginTop="10dp" />
    <Button
        android:layout_width="match_parent"
        android:layout_height="wrap_content"
        android:text="확인"
        android:layout_marginTop="16dp" />
    </LinearLayout>
3. MainActivity.kt 파일에 아래와 같이 작성합니다.
package com.example.myfirstandroidlab

import androidx.appcompat.app.AppCompatActivity
import android.os.Bundle
import android.view.View
import com.example.myfirstandroidlab.databinding.ActivityMainBinding

class MainActivity : AppCompatActivity() {
    override fun onCreate(savedInstanceState: Bundle?) {
        super.onCreate(savedInstanceState)
        setContentView(R.layout.activity_main)
    }
}
4. 실행 화면은 아래와 같습니다.

이 글은 Do it! 깡샘의 안드로이드 앱 프로그래밍 with 코틀린 책을 보며 공부하여 작성한 글입니다.
이지스퍼블리싱에서 출간한 'Do it! 깡샘의 안드로이드 앱 프로그래밍 with 코틀린'의 코드를 담고 있습니다.
'Kotlin' 카테고리의 다른 글
| Ch 14. 뷰 배치(2) - RelativeLayout, FrameLayout, GridLayout (0) | 2023.08.09 |
|---|---|
| Ch 13. 뷰 배치(1) - 선형 배치 (0) | 2023.08.08 |
| Ch 11. 뷰 바인딩 (0) | 2023.08.07 |
| Ch 10. 뷰 살펴보기 (0) | 2023.08.06 |